www.owenstrackdayphotos.com
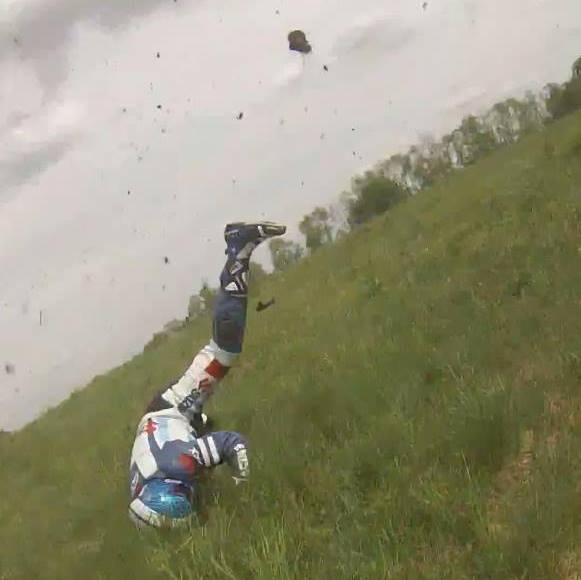
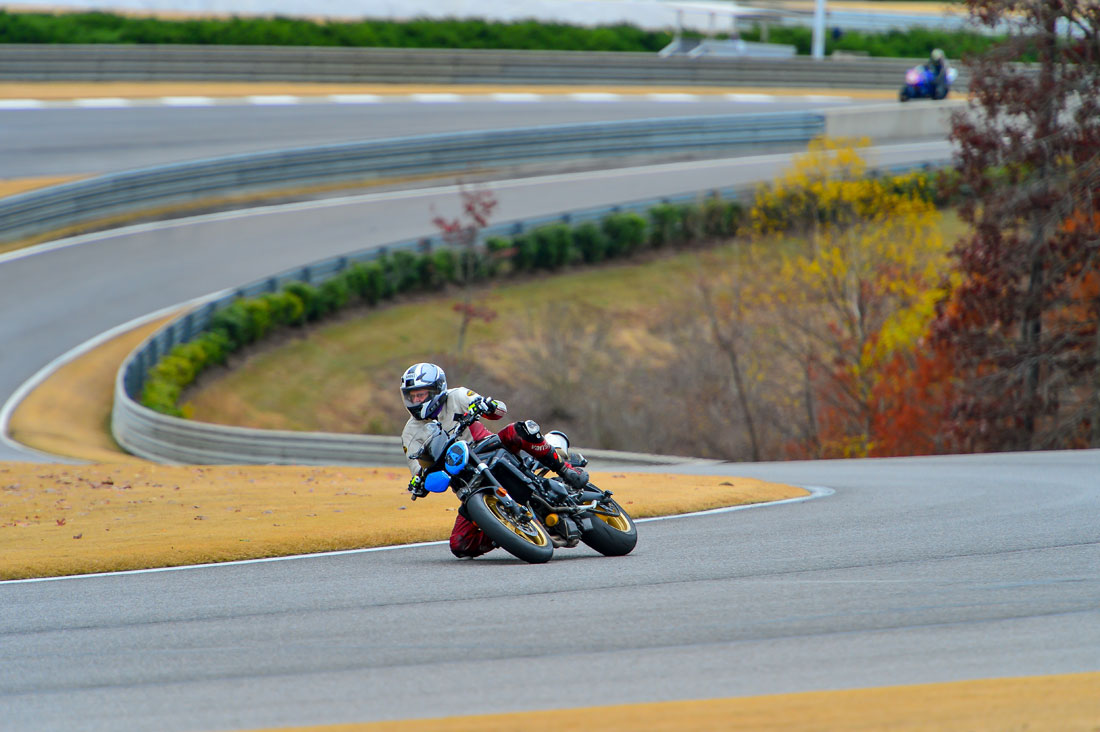
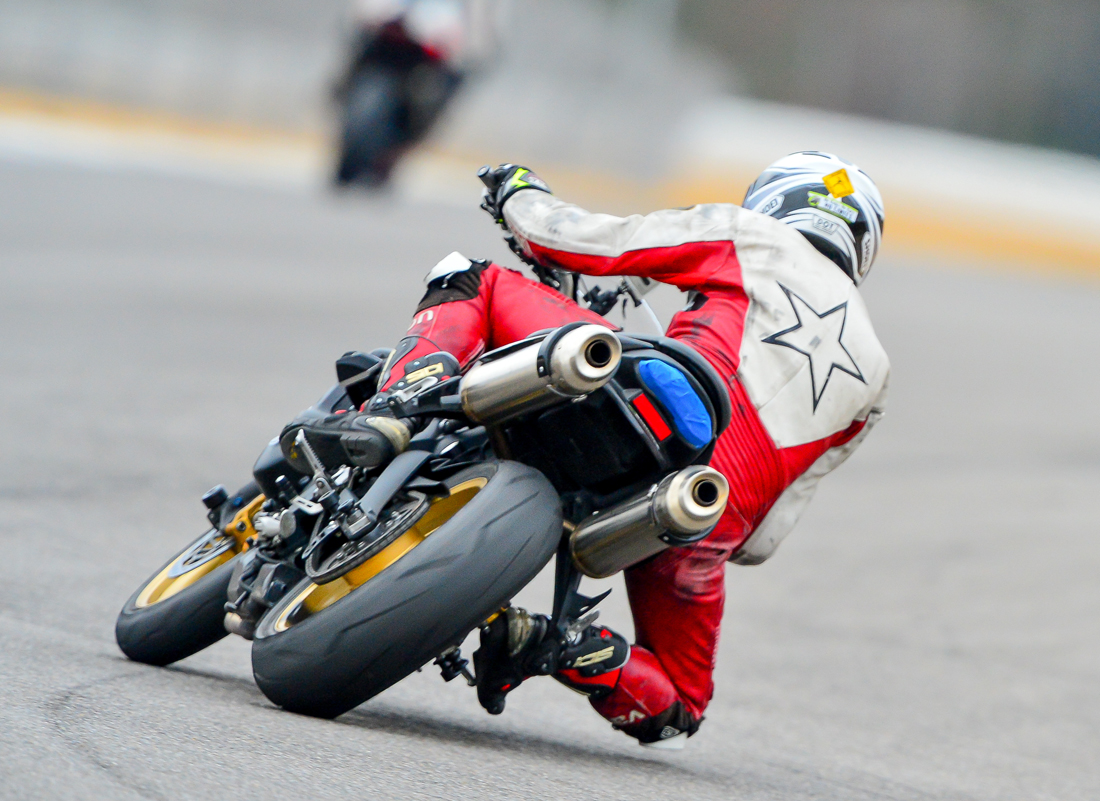
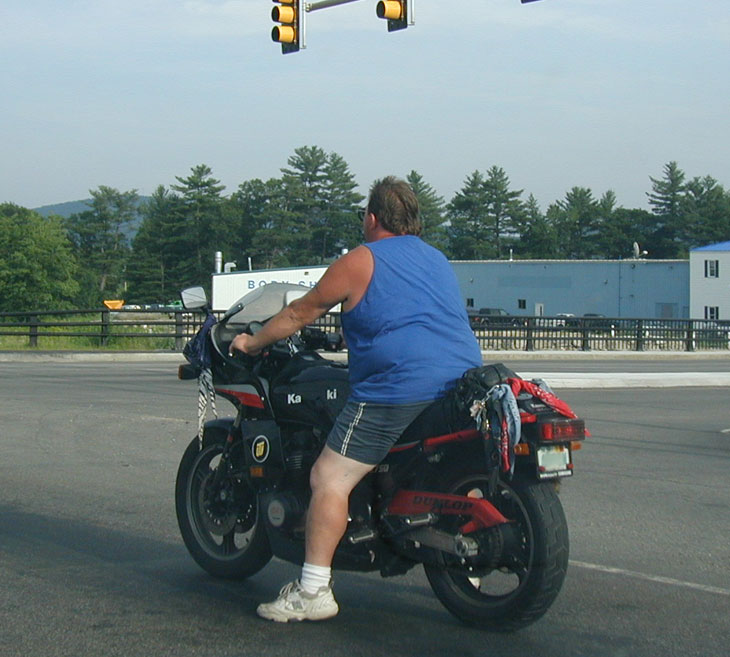
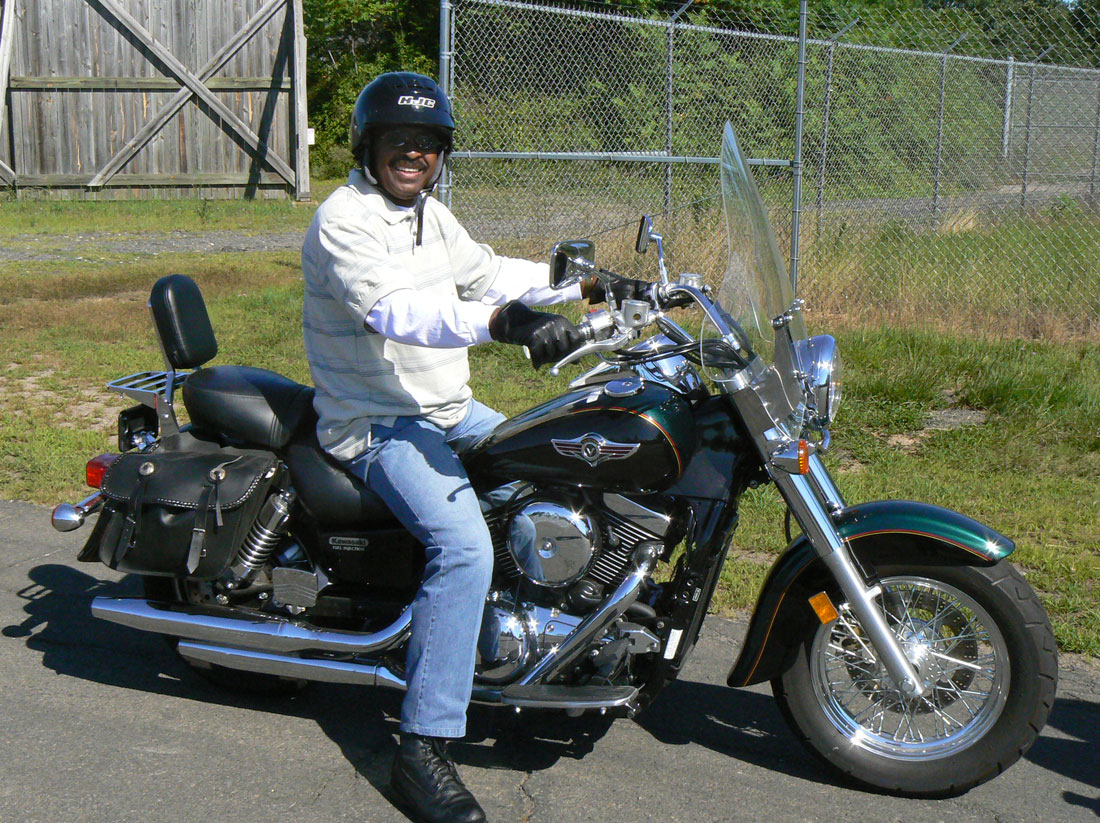
Most motorcycle riders initiate lean in a somewhat lazy manner. In most cornering situations and at normal street speeds it is perfectly fine to gradually ease into a corner with light pressure on the handlebars. But, when the pace picks up and the corners become less predictable, a sluggish, indecisive turn-in will cause you to run wide at corner exits. The ability to turn quickly gives you a survival tool for managing misjudged corners while also increasing an overall sense of control and confidence. Booya!
Cornering 101
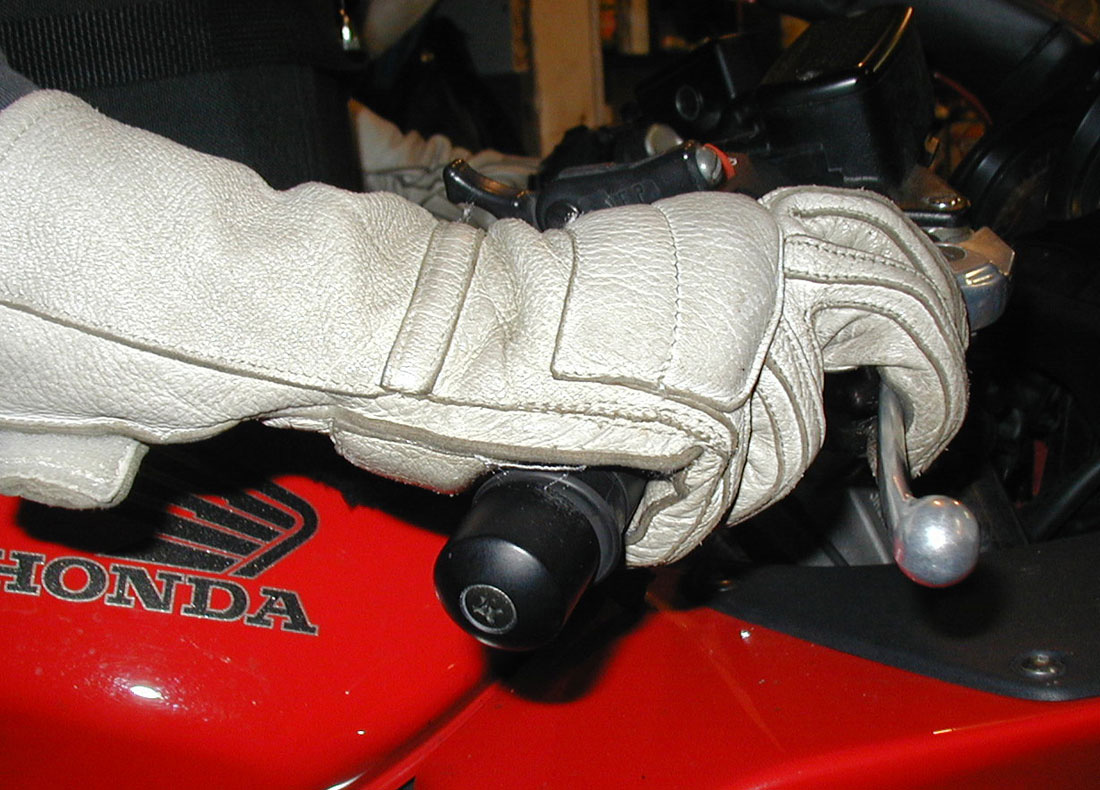
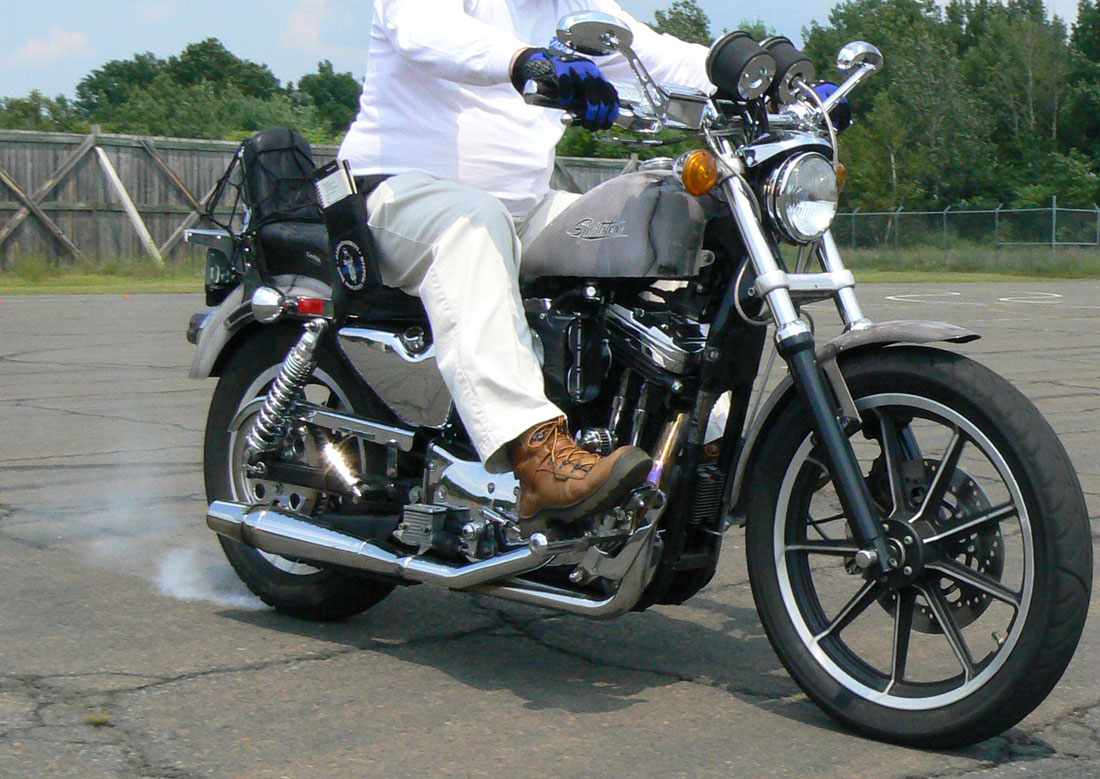
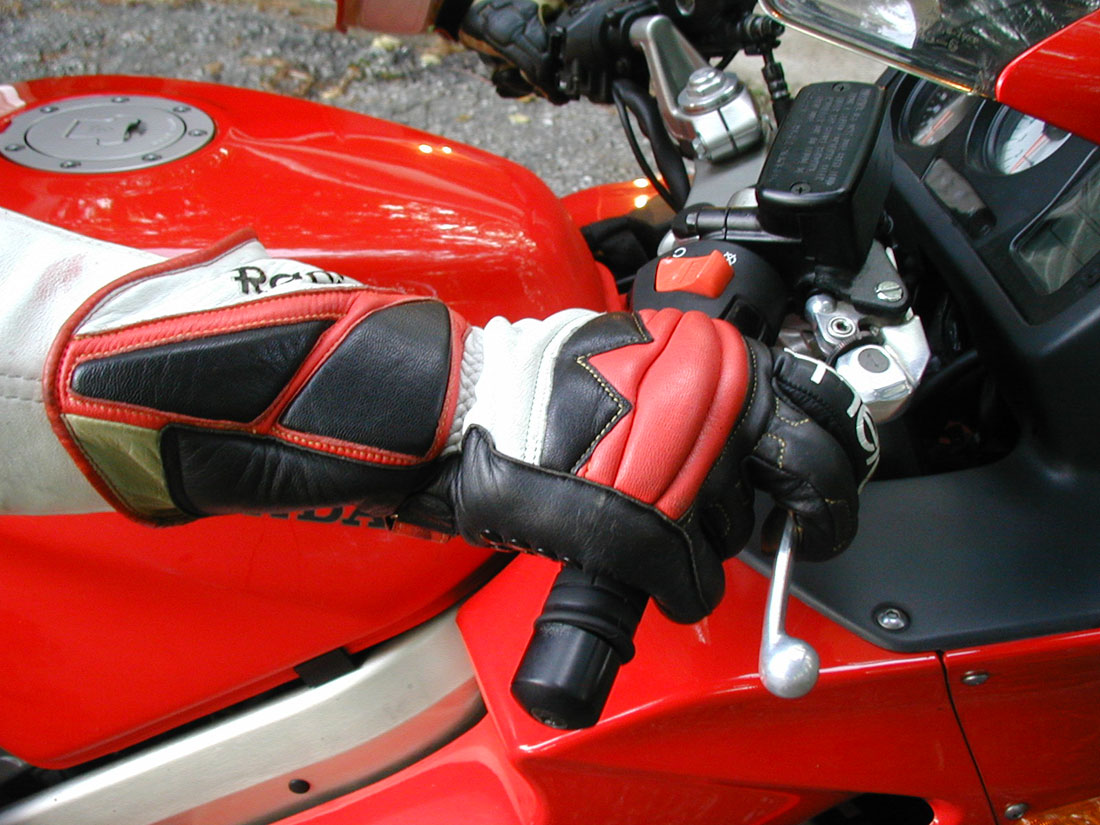
Before we get into quick turning technique, you must understand the basics of how a motorcycle changes direction. Motorcycles must lean to turn. Leaning is done primarily by introducing countersteering pressure on the handlebar: press forward/down on the handlebar on the side in which you want to turn.
Not sure you understand countersteering? Read This Article NOW. FYI, you can quicken steering by pushing on the inside handlebar while also pulling on the opposite bar.
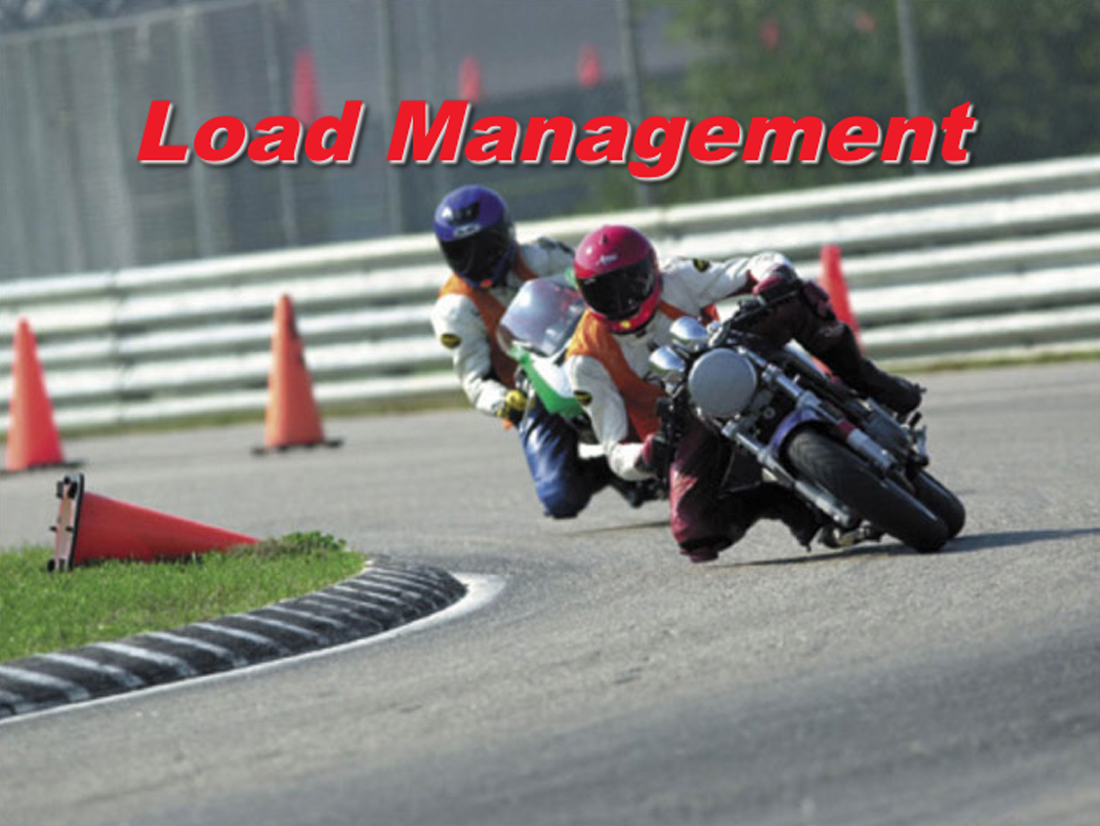
How Quicker Turns Help
Turning the motorcycle within a shorter distance and period of time gets the bike to change direction early. The quicker the bike is leaned, the earlier the direction change is completed, which affords you a greater margin of error to handle a misjudged turn radius or a slightly overspeed entry. Look at the diagram and you’ll also see that a quicker turn-in means you are not leaned over as long.
Another benefit of a quick turn is that it allows the bike to reach maximum necessary lean angle before or at the turn apex (the innermost part of the corner), which means that you can get on the gas sooner for both greater corner stability (bikes like being under drive when cornering) and greater exit speed (for you performance riders): Tip-in and then crack the throttle.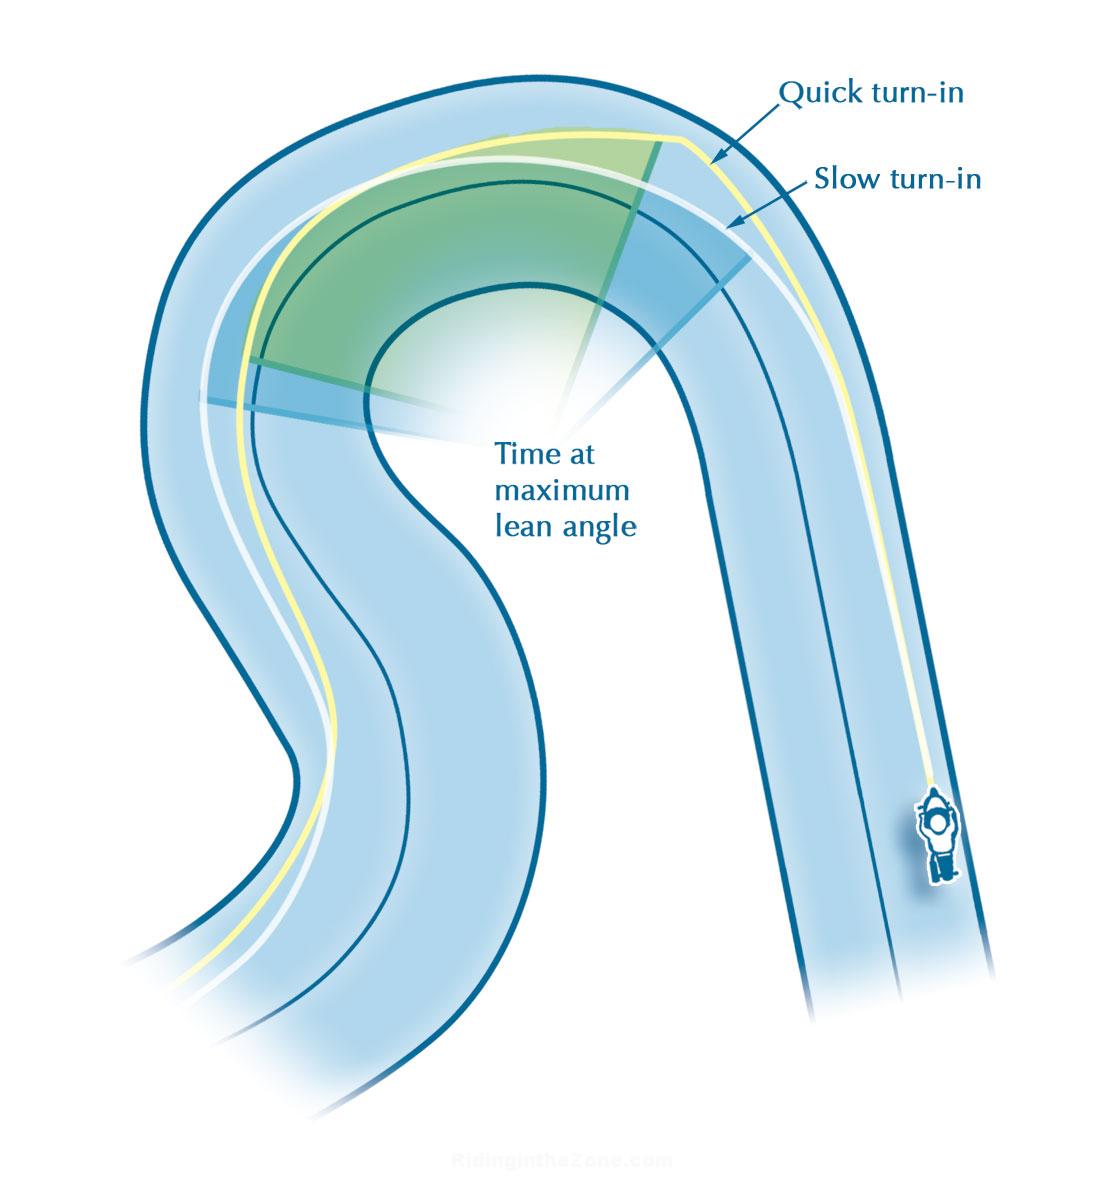

Quick Turns and Cornering Lines
The quick turn technique can be used for most, but not all corners. Some corners are laid out so that a gentle, sweeping entry is best. But, most other corners benefit from a quick turn, especially turns we call “exit” turns that require a slower entry and an early drive out of the corner.
A quick turn is also useful as a way to achieve a delayed apex cornering line. Delaying turn-in by a half-second or so keeps you outside a bit longer at the turn entry for a wider angle of view and points the motorcycle toward the turn exit, rather than toward the outside edge of the lane. Novice riders often dive for the inside of a corner as they react to anxiety about not being able to make the turn. This can easily result in an early apex and a blown exit. Ouch!
Instead, wait for it, wait for it…okay, turn, NOW.
Quick Turning and Traction
As you might imagine, giving the handlebar a good shove introduces an abrupt force to the front tire. That’s why you want to limit using the quick turning technique when traction is limited, such as on wet or contaminated pavement. A quick turn uses more traction at the beginning of the turn, but uses less at the apex and exit. Even though more traction is used when turning quickly, good tires in dry conditions have more than enough grip to handle the extra force.
To minimize the risk of tucking the front tire, you must get most of your braking done and start easing off the brakes before you introduce forceful handlebar inputs. However, it is beneficial to maintain some front brake force as you countersteer, which compresses the front suspension and loads the front tire for more rapid turning response. Ideally, you would release the brakes a split-moment after you press on the handlebars.
I’m talking about releasing the brakes almost immediately after initiating lean. If you want to maintain braking pressure longer (trailbraking), then you’re better off not turning in quickly. To manage traction while trailbraking your turn-in must be gradual, because you’re combining both turning forces and brake forces.
Timing & Intensity
A well-timed quick turn should result in a single handlebar input that establishes necessary lean angle and allows immediate throttle application (very gradual at first).
Turning in too hard and/or too early could result in the motorcycle hitting the inside of the curve. To prevent this, you will need to delay turn-in from where you would begin to turn for a slow turn-in. To fine-tune how rapidly the bike turns in, you can also reduce how hard you press on the handlebars. The harder you press, the more rapidly the bike will fall into the lean.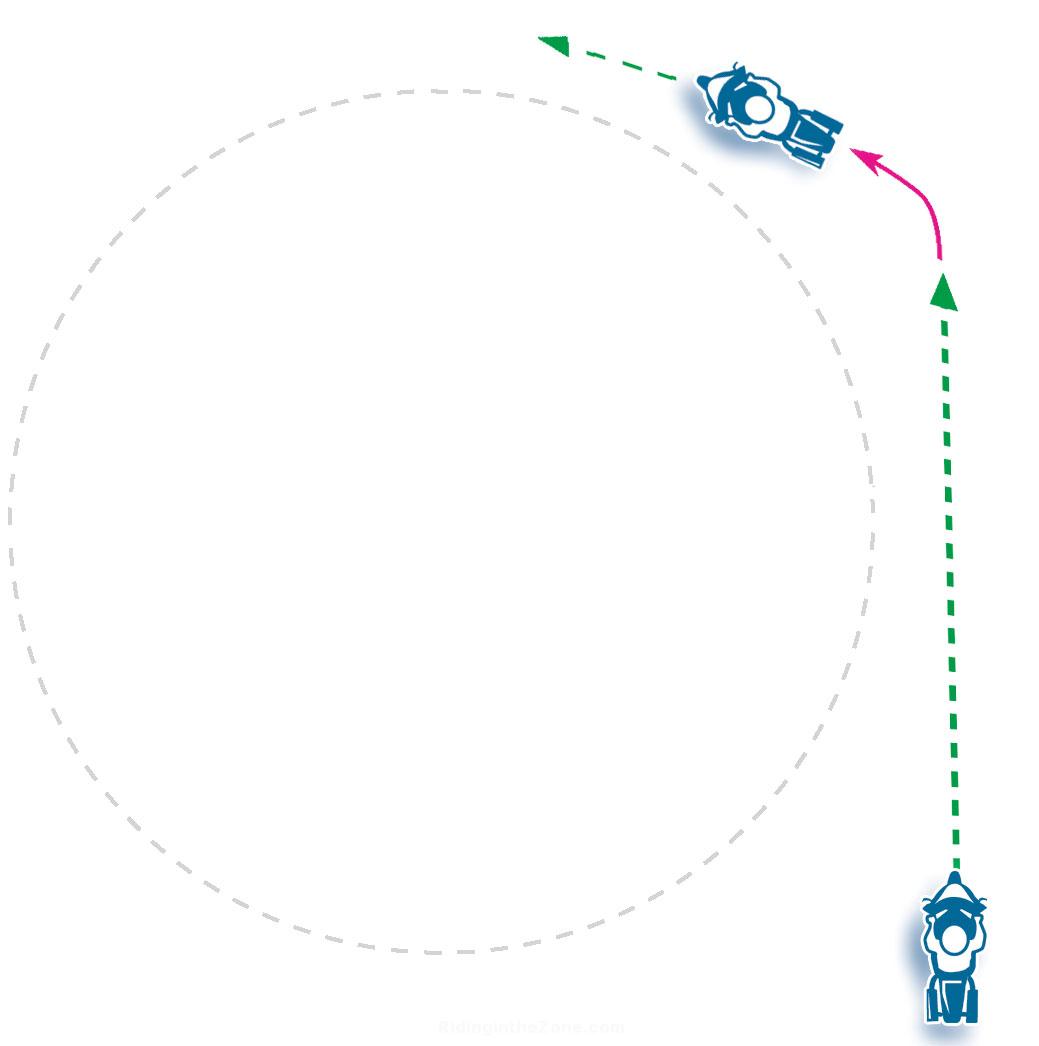
NOW is the Time!
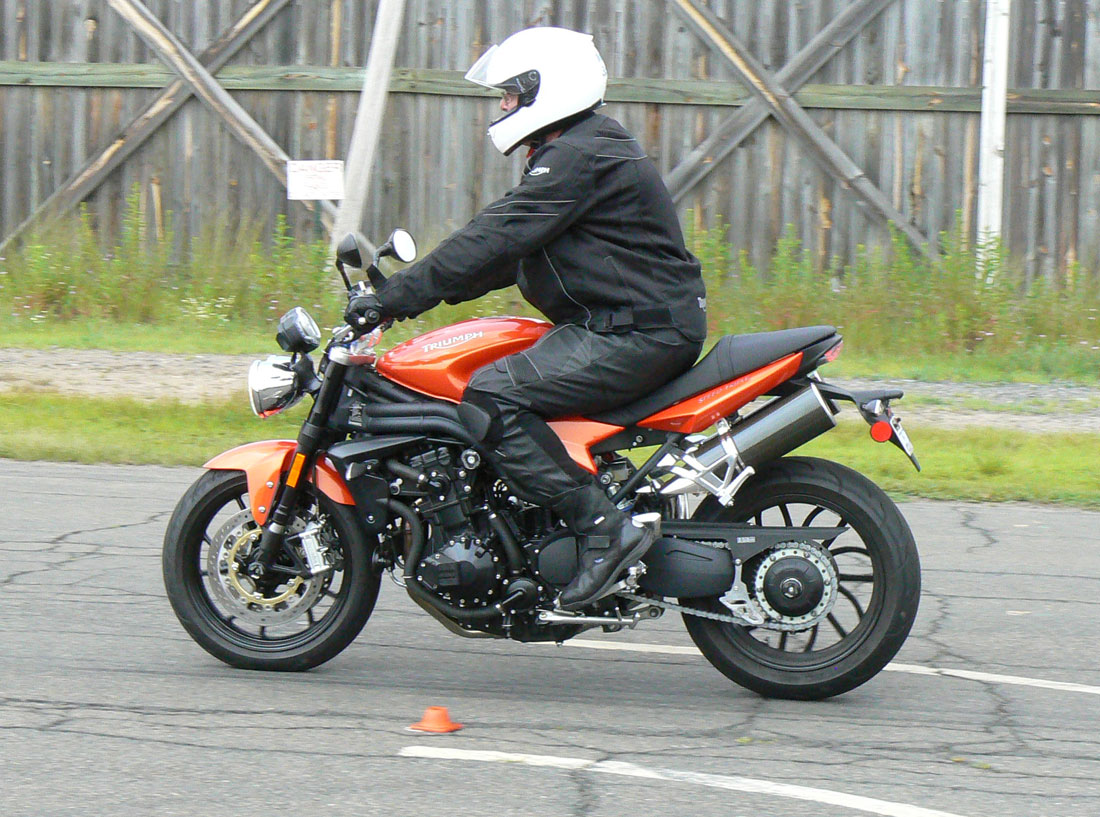
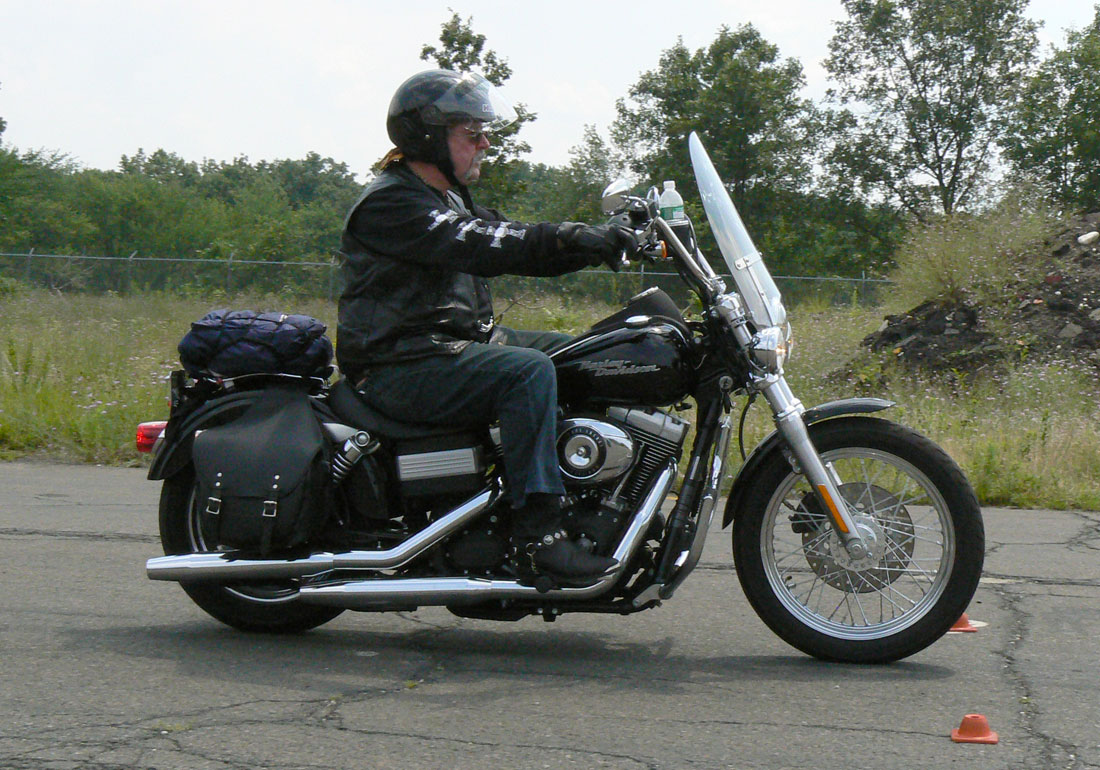
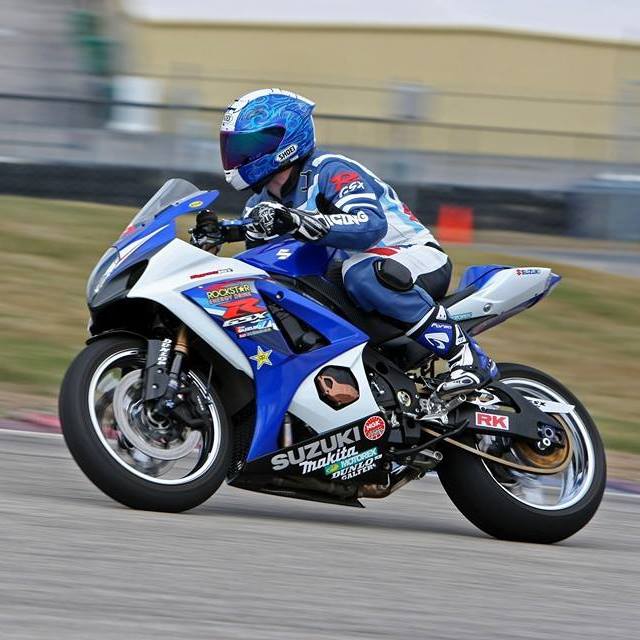
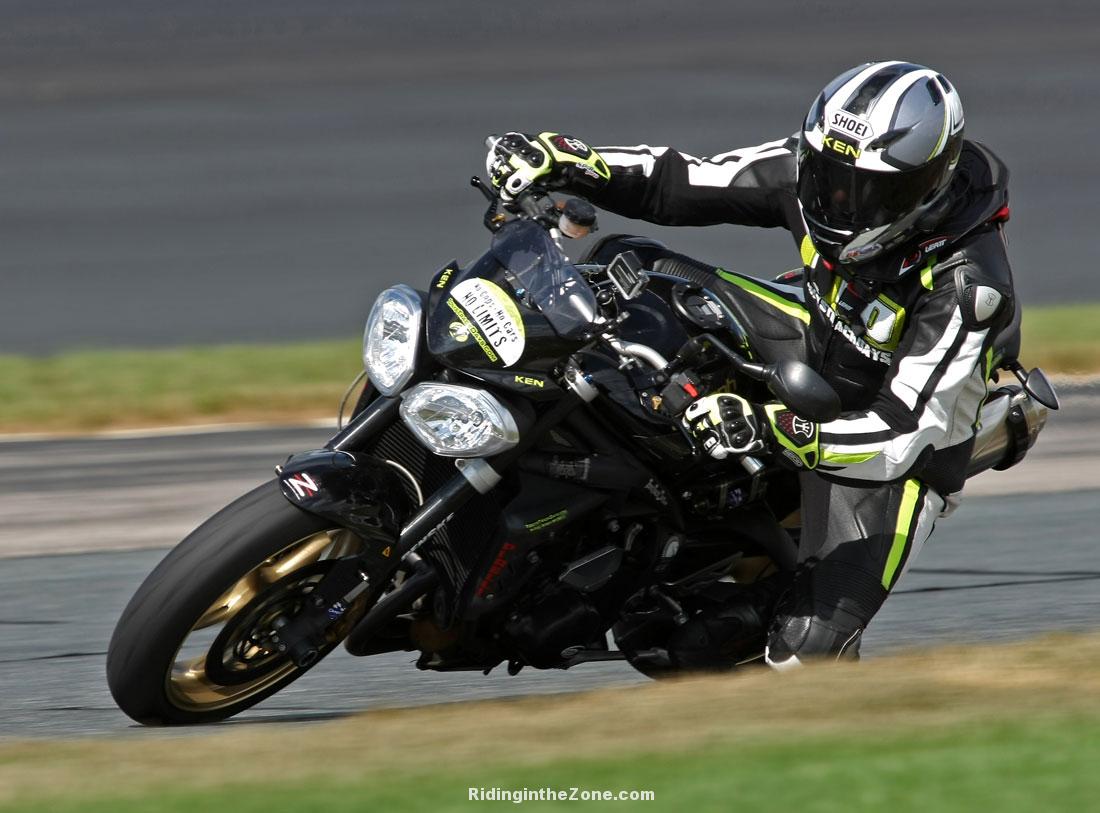
I don’t care if you ride a GSXR on the racetrack or a Harley on the street, you must master the quick turn technique NOW. Being able to use immediate, authoritative handlebar pressure gives you a MUCH better chance of surviving a too fast corner entry. Learning the quick turning technique will allow you to get the bike turned early and efficiently and minimize the chance that you will panic and grab the brakes or run wide into the oncoming lane or off the pavement. Don’t delay! This just might happen on your very next ride!
Learning to turn quickly isn’t difficult, but it does require excellent countersteering skills and precise timing. Turning quicker also requires more forceful handlebar pressure and the trust that the tires will stick under the stress of more forceful handlebar inputs. Practice is what will convince your mind and muscles of the power of the quick turn. Do it!
Please Donate to Keep the Articles Coming
If you liked this article and the many other articles on this site, please toss a buck or five into the hat. It’s greatly appreciated!
- Click the PayPal “Pay Now” button.
- Then indicate quantity in $2.00 increments. – Example: put “2” in “QUANTITY” field to donate $4.00, “3” for a $6.00 donation, etc.
Why $2.00? Due to the PayPal fee structure, a $2.00 donation is significantly more beneficial compared to a $1.00 donation.
Thank You!
Check out these related posts:
- How Not to Suck at Cornering
- Just Go Faster
- Countersteering Will Save Your Life!
- Guest Writer: When Do You Lean?
- #1 Reason for Motorcycle Crashes in Corners
Stay Informed: Subscribe NOW!
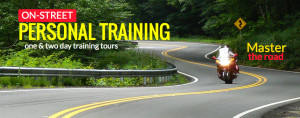
Be a Better Rider: Sign Up for Personal Training with Ken
Support Riding in the Zone: Buy a book
Support Riding in the Zone: Buy products from Twisted Throttle & Amazon